A Sourdough starter is known as a pre-ferment or mother dough as well because you will use it to create your future doughs and is the essential part of baking with natural leavening. For me, it is still astonishing how you can produce loaves of bread using your own generated culture of bacteria.
Basically, this culture of lactobacilli and yeast is just fermented flour with water. The yeast bacteria feed on the starch from the flour and produce gas, making your dough rise naturally. The lactobacilli are probiotic bacteria known for the health benefits of improving your intestinal flora and together with the acetic acid bacteria give the dough its slightly sour flavor.
Before people produced industrial ferment, that we can buy in our supermarkets today, naturally leavened bread was the only bread available. People passed on their sourdough culture from generation to generation. I started my sourdough starter some years ago, and it is the same bacteria culture I am using today. Once you have started baking with your own sourdough culture, you will get addicted to this flavorful and healthy bread.

What you will need
Before you start to make your sourdough starter, you will need a few things.
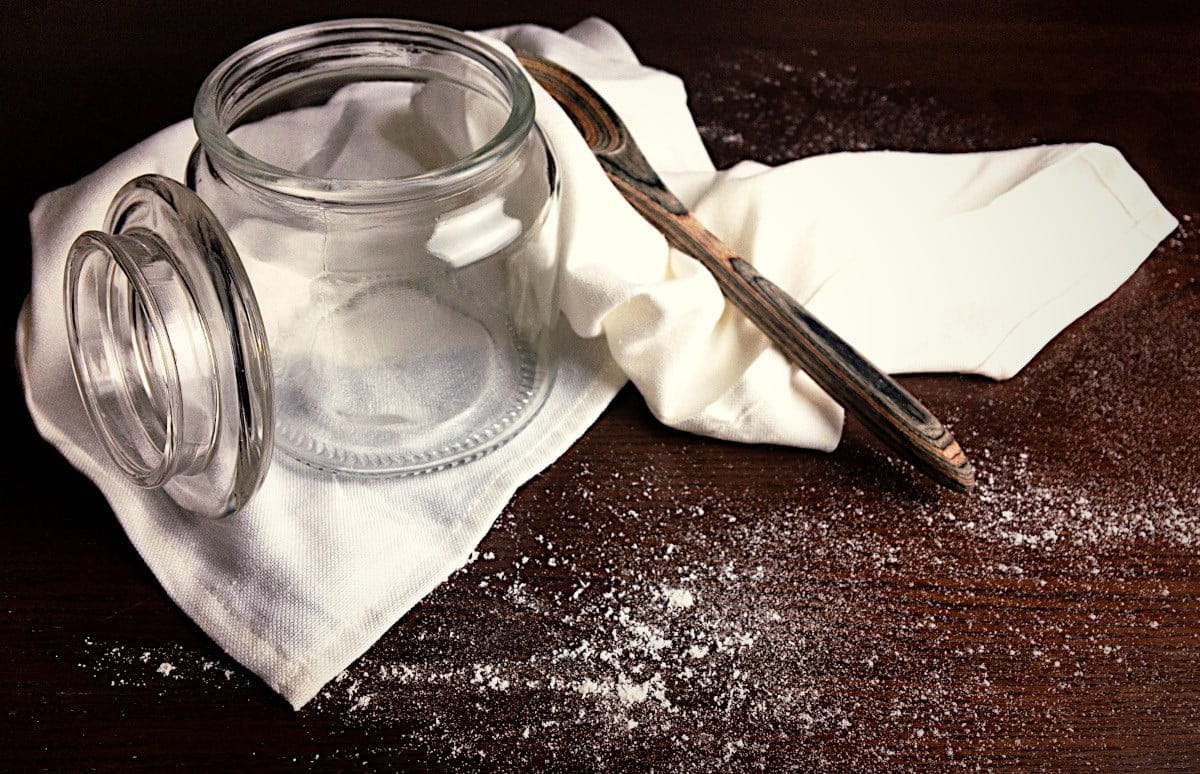
- Any glass jar with a lid, like a weck jar. Glass jars are easy to find and great to see the development of the starter.
- A kitchen scale is essential to know the exact amount of flour using for your feedings.
- A thermometer helps you to control the water temperature you will use for the feedings and the temperature of your starter in general.
- You can achieve the process with any flour, but it works essentially better when you use a mixture of a white all-purpose flour and whole-grain flour.
Some Tips you should know
- Use bottled water because tap water can contain a lot of chlorine, which can impede fermentation.
- Use your glass jar with a lid on, but take off the rubber seal or any clips to close it loosely enough to keep the humidity and the heat trapped inside.
- Temperature is important. Try to keep the culture about 26ºC (80ºF). You can use your oven turned off with the light turned on.
Step-by-step guide to create your starter
Before you start, weigh your empty glass jar or container (without the lid) what you are going to use, and note down the weight. You will need this information as a basis for the regular feeding of your starter. Knowing the weight of your glass jar will allow you to remove the discard of the starter and leave the portion to be fed in the glass jar.
Reuse the same glass jar or container for all the feedings and don’t clean it in between.
Day 1
Start somewhere before noon. Place your empty glass jar on a scale and press tare. Add 100g of water at about 30ºC (86ºF) and 100g of whole grain flour and mix well just until incorporated. Keep the jar with the mixture uncovered for 2 hours then, loosely covered with a lid at a warm place about 25ºC to 30ºC (77ºF to 86ºF) but keep out of direct sunlight. Let it rest more or less 24 hours.
Day 2
Approximately 24 hours later throw away 125g of the mixture, leaving 75g of the mixture inside the jar (the weight of your empty jar +75g). Add 50g of whole grain flour, 50g of all-purpose flour and, 100g of water at about 30ºC (86ºF) and mix well just until incorporated. Leave the mixture uncovered for 2 hours then, loosely covered with a lid at the same warm place as last day. Later in the day, you may see some activity with some small bubbles visible.
Day 3
Approximately 24 hours later you repeat the same process from day three. Throw away 200g of the mixture leaving 75g of the mixture, inside the jar (the weight of your empty jar +75g). Add 50g of whole grain flour, 50g of all-purpose flour and, 100g of water at about 30ºC (86ºF) and mix well just until incorporated. Leave the mixture uncovered for 2 hours then, loosely covered with a lid at the same warm place as last day. Later in the day, the starter should get a distinctly sour odor.
Day 4
Approximately 24 hours later you should see fermentation activity with bubbles throughout, the level of the starter risen and fallen. Today throw away 225g of the mixture, leaving 50g of the mixture inside the jar (the weight of your empty jar +50g). Add 50g of whole grain flour, 50g of all-purpose flour and, 100g of water at about 30ºC (86ºF) and mix well just until incorporated. Leave the mixture uncovered for 2 hours then, loosely covered with a lid at the same warm place as last day.
Day 5
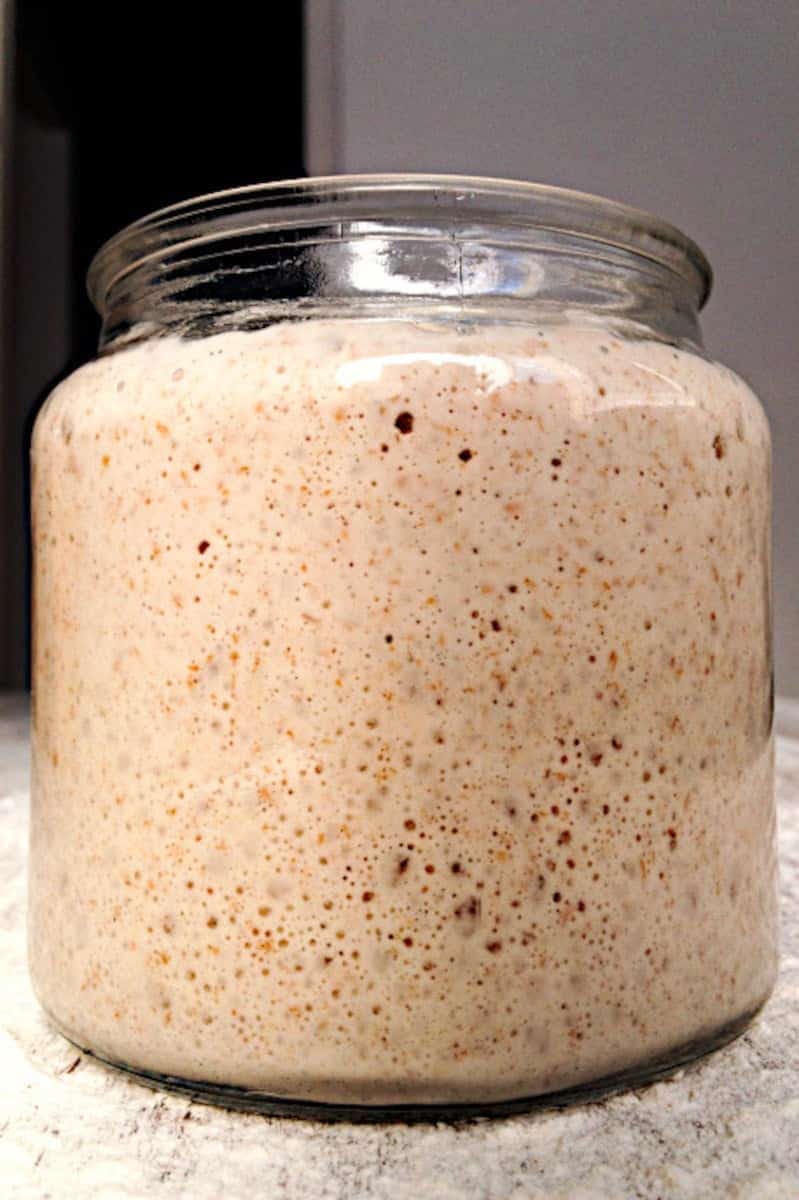
Approximately 24 hours later you should see the height of your starter rise and fall after the feeding. If you wet your hand and take out a little piece, you should feel its gas inside and sense its web-like internal structure. Anyway, if this is not the case, stick to the feeding schedule, and don’t give up.
Leaving 50g of the mixture inside the jar (the weight of your empty jar +50g) and throw away the rest. Add 50g of whole grain flour, 50g of all-purpose flour and, 100g of water at about 30ºC (86ºF) and mix well just until incorporated. Leave the mixture uncovered for 2 hours then, loosely covered with a lid at the same warm place as last day.
Day 6
Today your sourdough starter should be vigorous and strong enough to use it in a sourdough recipe. If you still don’t see enough activity, don’t give up and continue the previous feeding schedule until it is mature and strong enough. This process depends on temperature a lot, so if the kitchen or place you are keeping your starter is too cold, it takes longer. Also, different kinds of flour qualities can influence the outcome.
Maintaining and Feeding Sourdough Starter
When you have already created a mature and active sourdough starter, you need to keep him alive by feeding it. The regular feeding schedule is so easy and quick that it won’t occupy a lot of your time.
See this Recipe for a delicous soudough bread to use your new sourdough starter
Like most people, you will not bake bread every day, but don’t worry, you can keep your sourdough starter in the fridge and only feed him once a week. Even if you are on vacation, keep your starter is in the refrigerator. When you come back, feed it, and it will get active again.
This is what your regular schedule for feeding sourdough starter looks like:
- Leaving 25g of the mixture inside the jar (the weight of your empty jar + 25g) and “throwaway” the rest. Please don’t throw away the rest, there are uncountable amazing things you can do with the discard of your starter. Check out my recipes for sourdough discard ideas!
- Add 50g of whole grain flour, 50g of all-purpose flour and, 100g of water (bottled) at ambient temperature and mix well until incorporated. If you are not planing to bake bread this day, and just performing a normal feeding, that is the point where you can just but your starter back to the fridge.
- Leave the mixture loosely covered with a lid on a warm place in your house until the starter rises to its peak.
- The best point using your starter baking bread is when it is at its peak and nearly collapsing again.
Most recipes ask you to build up a Levain from your starter to use for your baking. A Levain means you build a sourdough culture with the help of your starter to use in the final recipe of the bread.In my recipes, I use my regular sourdough starter as a ferment. After you used the quantity of starter you needed for the recipe, only feeding sourdough starter again, discarding everything besides the maintainer (the part you keep – in my feeding schedule 25g).
When you developed already a stable and mature sourdough starter, you can change the flour you are using to your liking. If you prefer rye, spelt, or a mixture of different types of flours, that’s fine, just follow your instinct. In my experience, it works best if you use a mixture of white and whole grain to maintain your starter. Important is that you keep your ingredients more or less stable and do not change every week, so your culture can get strong.

A Small Tip: If you want to keep better track of the rise and fall of your starter when feeding sourdough starter, you can help yourself by putting a rubber band around your glass jar.