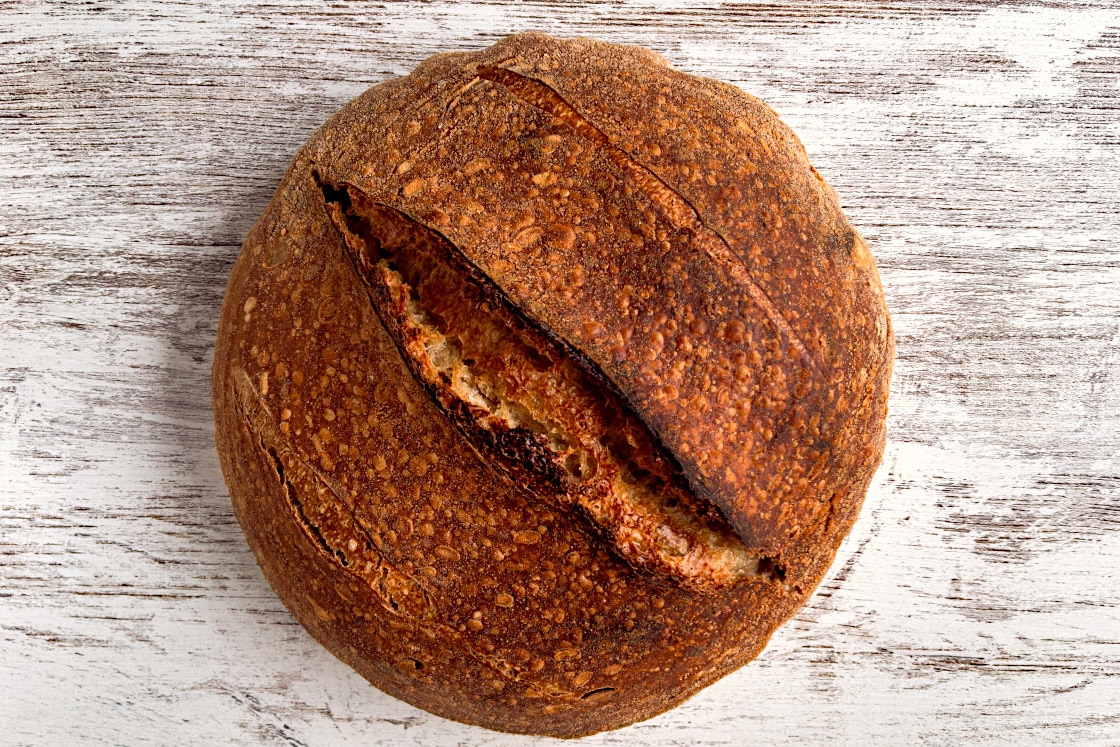
My favorite sourdough bread recipe with white flour. I make this recipe or a version of it at least once every two weeks and still enjoy the outcome every time. It makes beautiful, natural sourdough bread with just a bit of acidity to it. The flavor of your sourdough starter will directly reflect in the taste of the bread.
If you don’t have a sourdough starter yet, see my recipe how to make one from scratch.
For me, it is still astonishing how you can produce loaves of bread using your own generated culture of bacteria. Basically, this culture of lactobacilli and yeast is just fermented flour with water. The yeast bacteria feed on the starch from the flour and produce gas, making your dough rise naturally. The lactobacilli are probiotic bacteria known for the health benefits of improving your intestinal flora and giving the sourdough bread its slightly sour flavor.
Before people produced industrial ferment, that we can buy in our supermarkets today, naturally leavened bread was the only bread available. People passed on their sourdough culture from generation to generation. I started my sourdough starter some years ago, and it is the same bacteria culture I am using today. Once you have started baking with your own sourdough culture, you will get addicted to this flavorful and healthy sourdough bread.
Some things to keep in mind
- Use bottled water because tap water can contain a lot of chlorine, which can impede fermentation in sourdough bread.
- The type of flour you use makes a difference to the taste and the outcome of your bread. In this recipe, I use a mixture of white flour, whole grain rye flour, and whole grain spelt flour. I would advise you to buy white bread flour and not all-purpose flour because it has a higher protein percentage, which helps you to develop more gluten/strength in your dough. If you can’t find rye or spelt flour you can substitute them for whole-wheat flour instead.
- Temperature is important. Try to work always with a thermometer because the difference in temperature influences the outcome of your bread.
Time Schedule
The time schedule of sourdough bread baking is important because sourdough bread dough needs certain times to develop its qualities. To make sourdough bread with a long overnight fermentation must be planned ahead so it combines with your daily routine. You will find the time schedule also in the recipe but you can change the schedule as long as you keep the same time periods.
- 08:00 a.m. – Feed Your Starter
- 02:00 p.m. – Autolyse (In the Autolysis Process, only flour and water are mixed. It increases the extensibility in the dough and initiates the enzymatic activity that helps to draw out sugars from the flour.)
- 02:30 p.m. – Mix everything, start Bulk Fermentation
- 06:30 p.m. – Divide, Preshape, let rest on the bench
- 06:50 p.m. – Final Shape, put in a proofing basket, start Proof in fridge
- The next morning – Bake your bread
If you like this recipe, try my whole grain sourdough bread recipe
Note: Most recipes ask you to build up a leaven from your starter to use for your baking. A leaven means you build a sourdough culture with the help of your starter to use in the final recipe of the bread.
In my recipes, I use my regular sourdough starter as a ferment. After you used the quantity of starter you needed for the recipe, you only feed your starter again, discarding everything besides the maintainer.
To understand the recipe better, you can find the step by step in images below the recipe.
Recipe for White Sourdough Bread
Equipment
- kitchen scale
- dutch oven
- proofing basket
- thermometer
- bench knife
- sharp knife or razor blade
Ingredients
- 400 g white wheat flour bread flour
- 25 g rye flour whole grain
- 25 g spelt flour whole grain
- 350 g water bottled
- 100 g sourdough starter
- 12 g salt
- some rice flour for dusting
Instructions
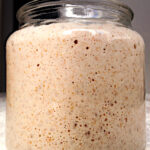
- 08:00 a.m. Feed your sourdough starter – according to your regular feeding procedure. Discard your starter, leaving 25g of the mixture inside the jar (the weight of your empty jar + 25g), add 50g of whole grain flour, 50g of all-purpose flour, 100g of water (bottled) at ambient temperature, and mix well until incorporated. Let the starter come to a full rise. It should get to the peak at about 5h to 6h, but it depends on the ambient temperature and strength of your sourdough starter.
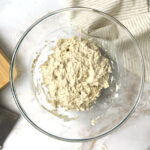
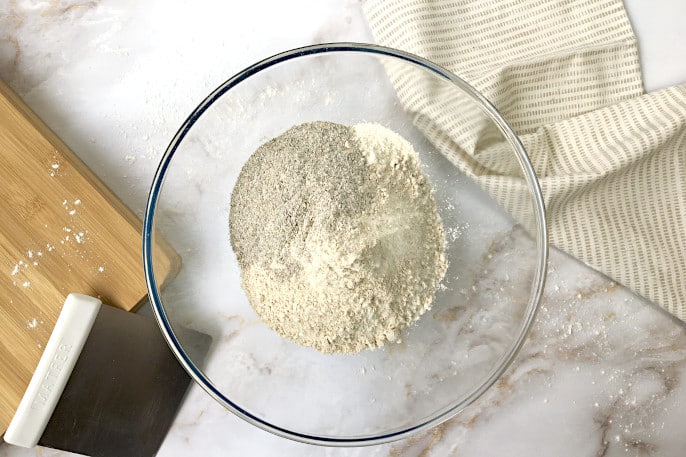
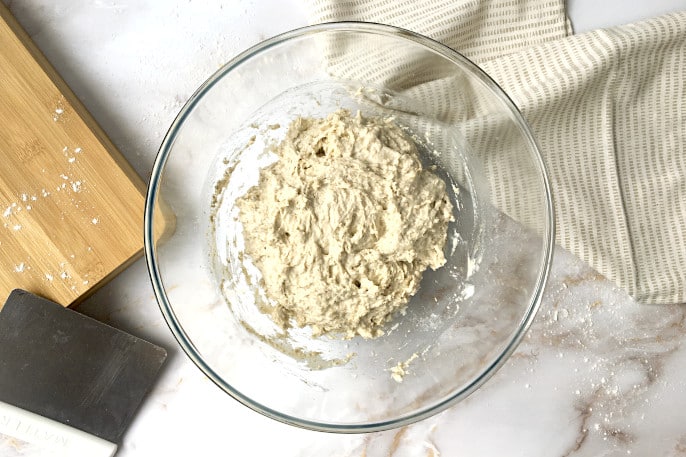
- 02:00 p.m. Autolyse – In a bowl, mix the 400g of white-wheat flour, the 25g of whole-grain rye flour, and the 25g of whole-grain spelt flour. Add the 350g of bottled water with a temperature of 30ºC to 35ºC (86ºF to 95ºF), and mix by hand just until incorporated. Cover with a kitchen towel and let rest for 30 min.In the Autolysis Process, only flour and water are mixed. It increases the extensibility in the dough and initiates the enzymatic activity that helps to draw out sugars from the flour.
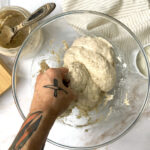
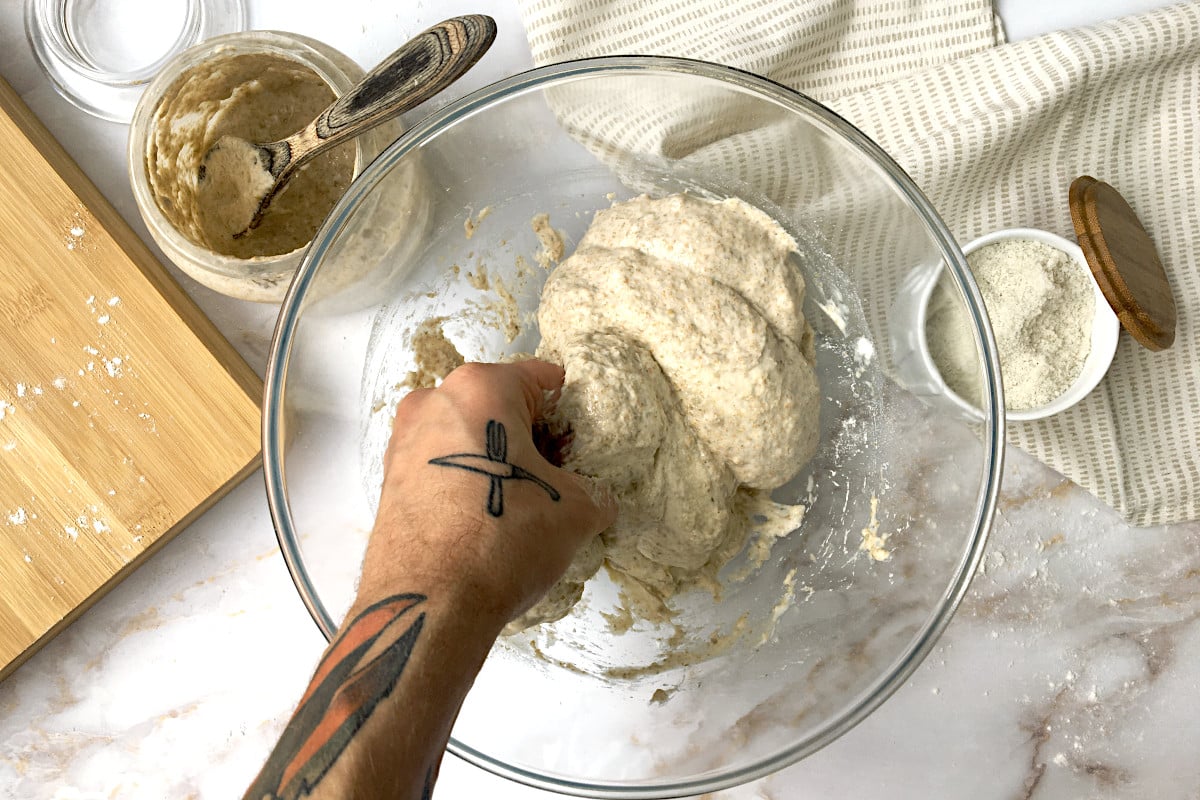
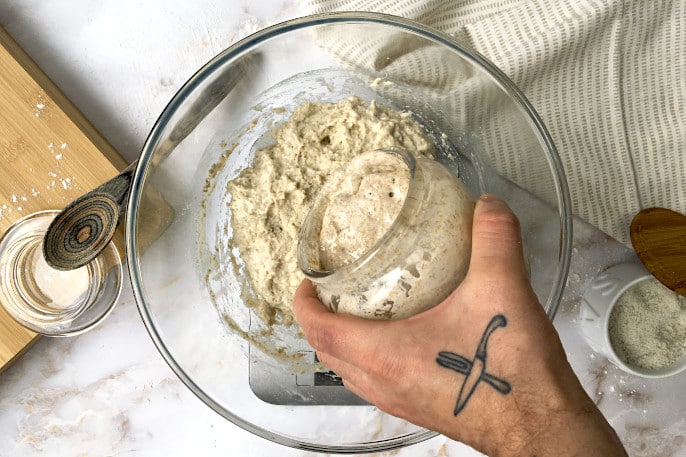
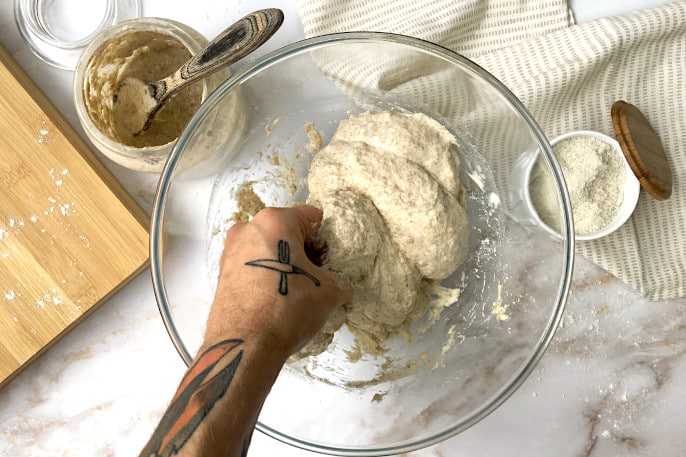
- 02:30 p.m. Mix the final dough – At this point, your sourdough starter should be at the peak of its rise, if not wait a little longer until it gets there.Sprinkle the 12g of salt over the top of the dough, and add the 100g of starter. Mix by hand until everything is fully incorporated. Use the pincer method, which means using your thumb and forefinger in a pincer-like grip, squeezing the dough until you cut through the dough. Repeat this process through the entire mass of dough.Cover the bowl again with the kitchen towel and let rest for 30 min.
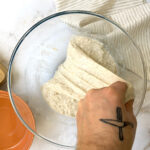
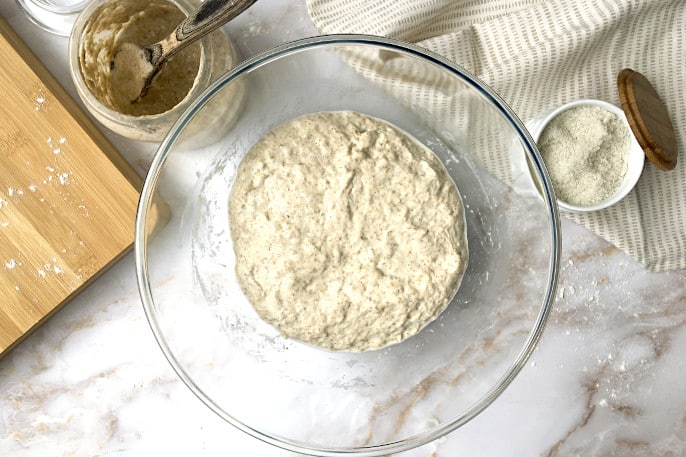
- 03:00 p.m. Bulk Fermentation / Folds – This part of the process, called Bulk Fermentation, will last for 4 hours at ambient temperature, ideally about 24ºC to 26ºC (76ºF to 80ºF). If your ambient temperature is too low, you can put your dough into your oven with the light on but the heat turned off. During these 4 hours, you have to apply four folds in the first 2 hours every 30 minutes. (So you fold your dough at 03:00 p.m., 03:30 p.m., 04:00 p.m., and 04:30 p.m.).Every Fold is the same process that you will repeat. Put a small bowl with water to your side to moisten your hand, so the dough will not stick to your hand. With your moistened hand, reach one side of the dough and pull it out just wide enough so you can fold it over the top to the opposite side. Repeat this four or five times, turning the bowl with your other hand and working around the dough until you reach your starting position again. During the folds, let the dough always rest 30 min covered with the kitchen towel.After the folds, you let the dough rest for the remaining 2 hours. During this period the dough should expand 20% to 50% of its volume.
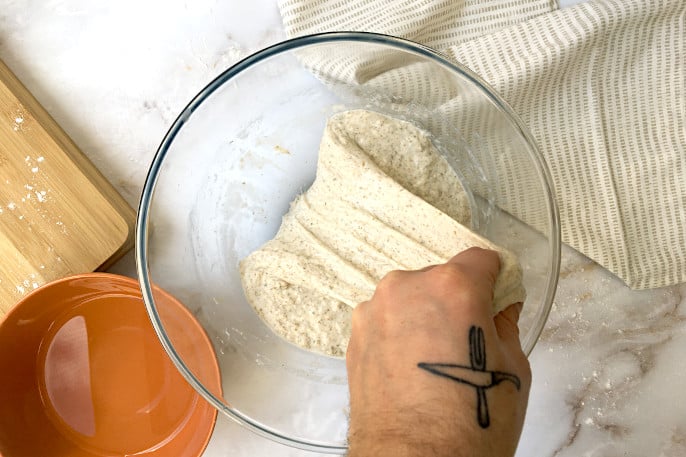
- 06:30 p.m.If you double the recipe! First Divide – Gently ease the dough out of the bowl onto a lightly floured work surface. With your bench knife, cut the dough into two equal pieces.Pre-Shape for the double recipe and the simple recipe – With the help of your bench knife make a small package, folding all sides to the middle, and flip the package over. Rotate the dough with your hand and the bench knife, pulling it towards you until you develop some tension on the surface of the dough. Let the dough rest on the work surface for 20 minutes uncovered.
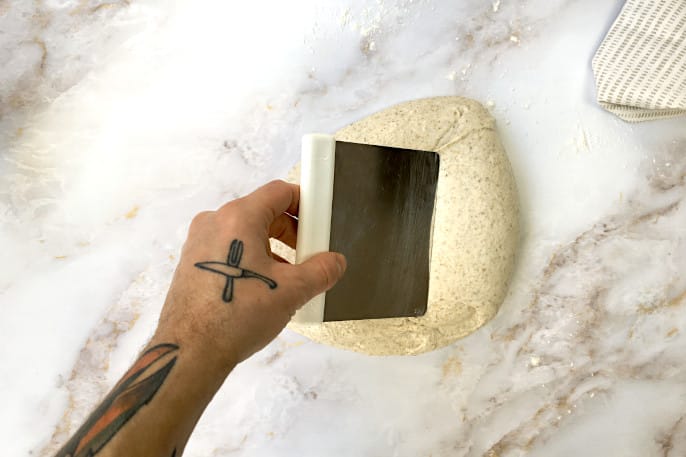
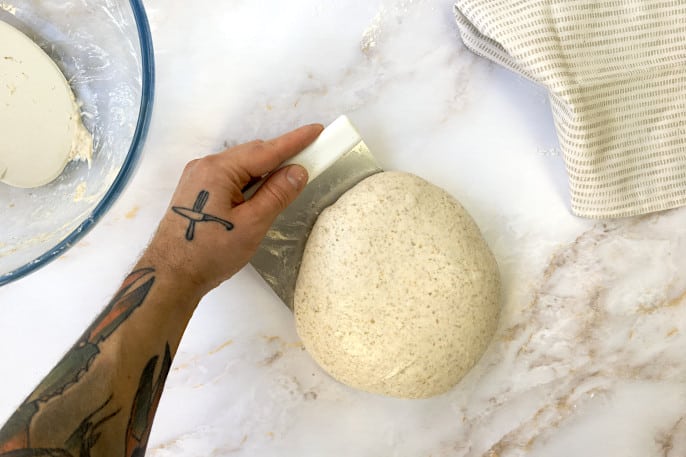
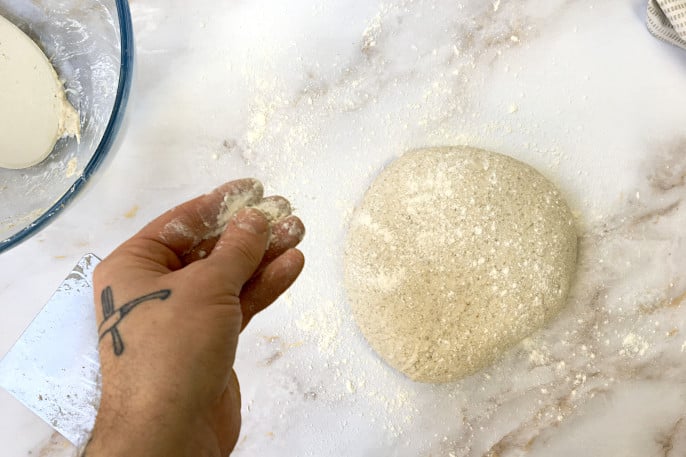
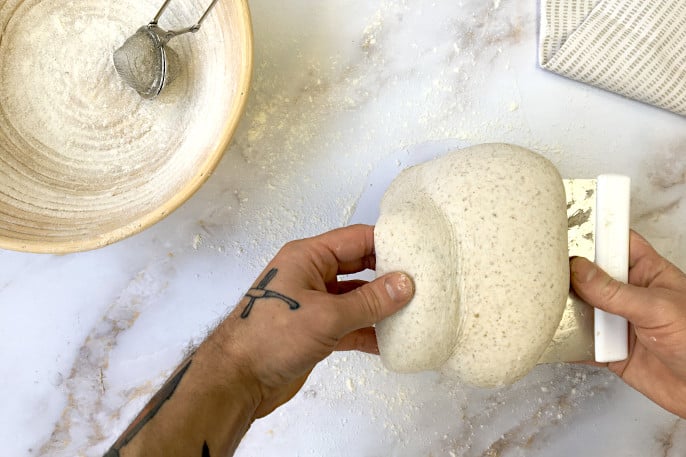
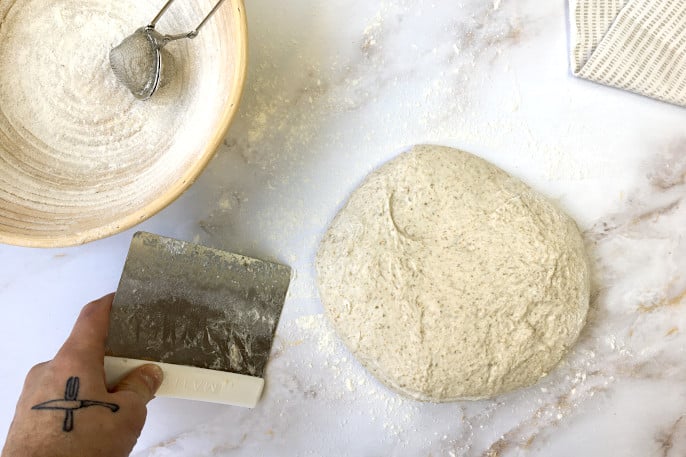
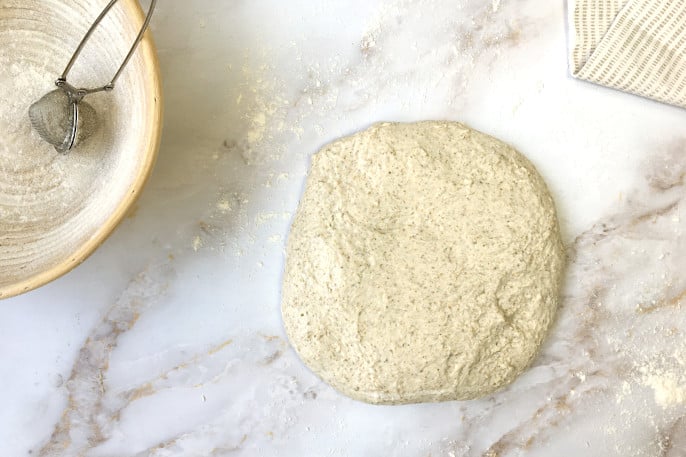
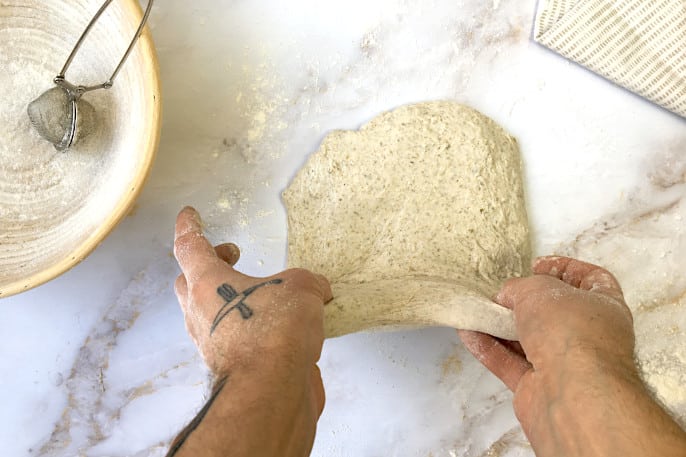
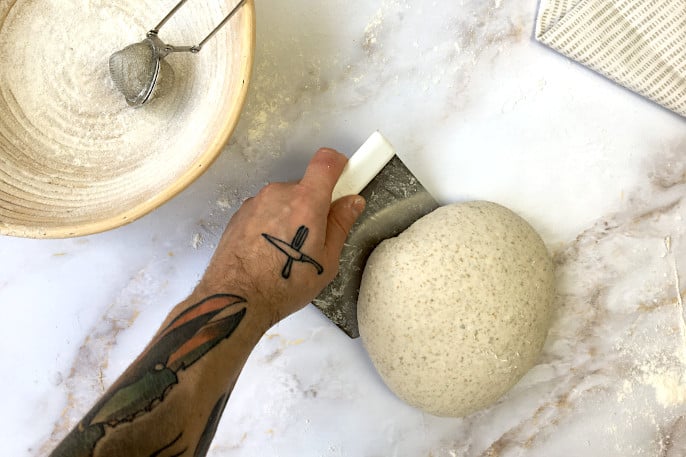
- 06:50 p.m. Shape – Lightly flour the work surface and the top of the dough. Quickly flip over the dough so that the floured surface of the dough is on the work surface. Flour your hands and gently pull out all sides of the dough until it resembles kind of a square. Grab the bottom side of the square, pull it gently towards you, and fold it to the middle up to 2/3 to the top. Grab the left side, pull it gently, and fold it towards the middle of the square. Grab the right side, pull it gently, and fold it towards the middle of the square. Now grab the top side, pull it gently, and fold it towards the middle. The dough package you just made resembles a letter. Roll the package over so the sealed side is on the work surface. Rotate the dough with your hand and the bench knife and pull it towards you until you develop tension on the dough, forming a skin.
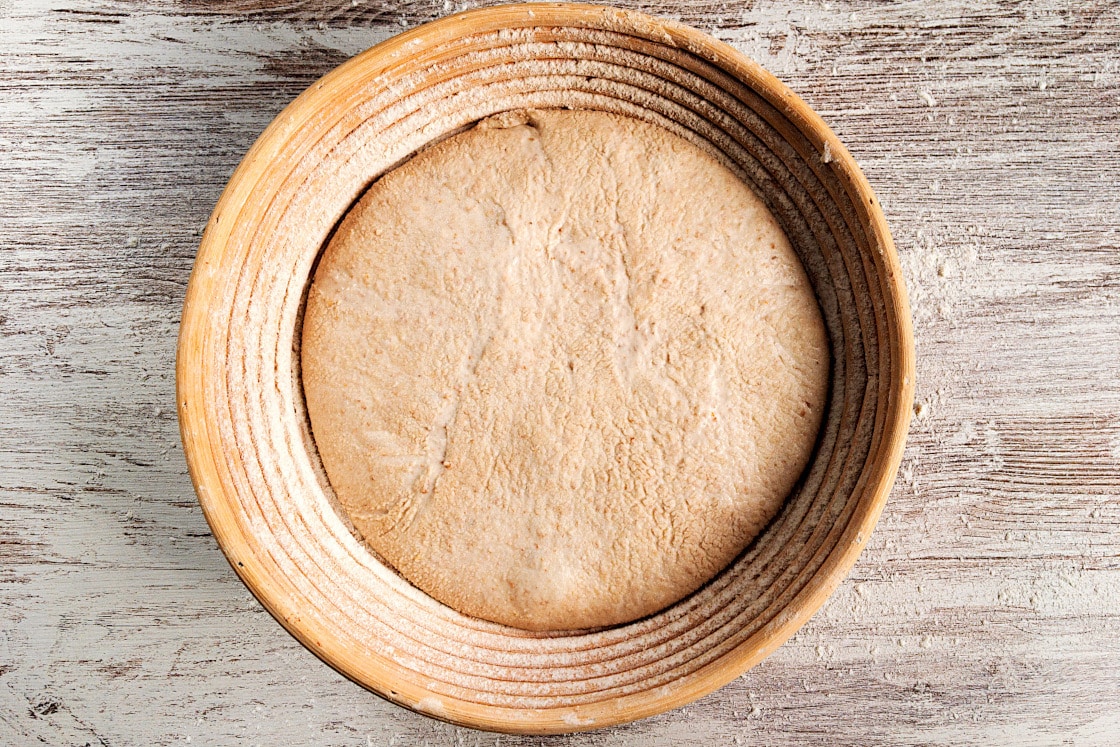
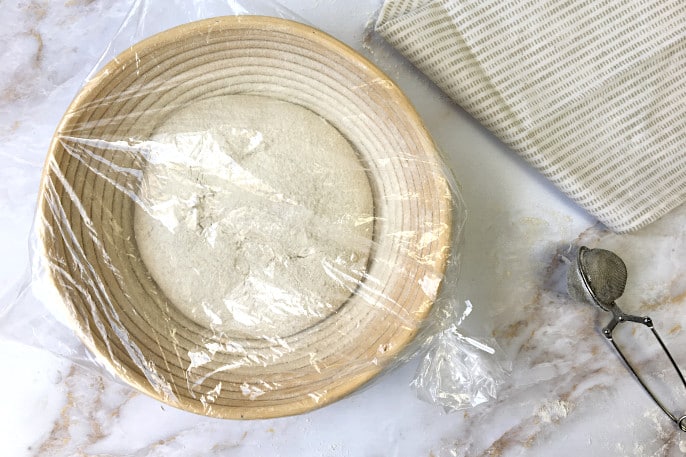
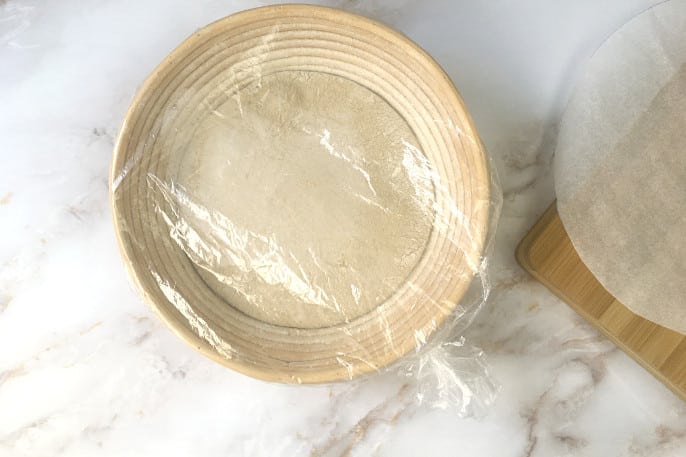
- 07:00 p.m. Proofing – Dust your proofing basket with rice flour and place the dough with the seamed side up in the basket. Put the proofing basket inside a plastic bag and place it in the fridge. During this second slow fermentation period, the dough will grow further and develop its distinctive flavor.
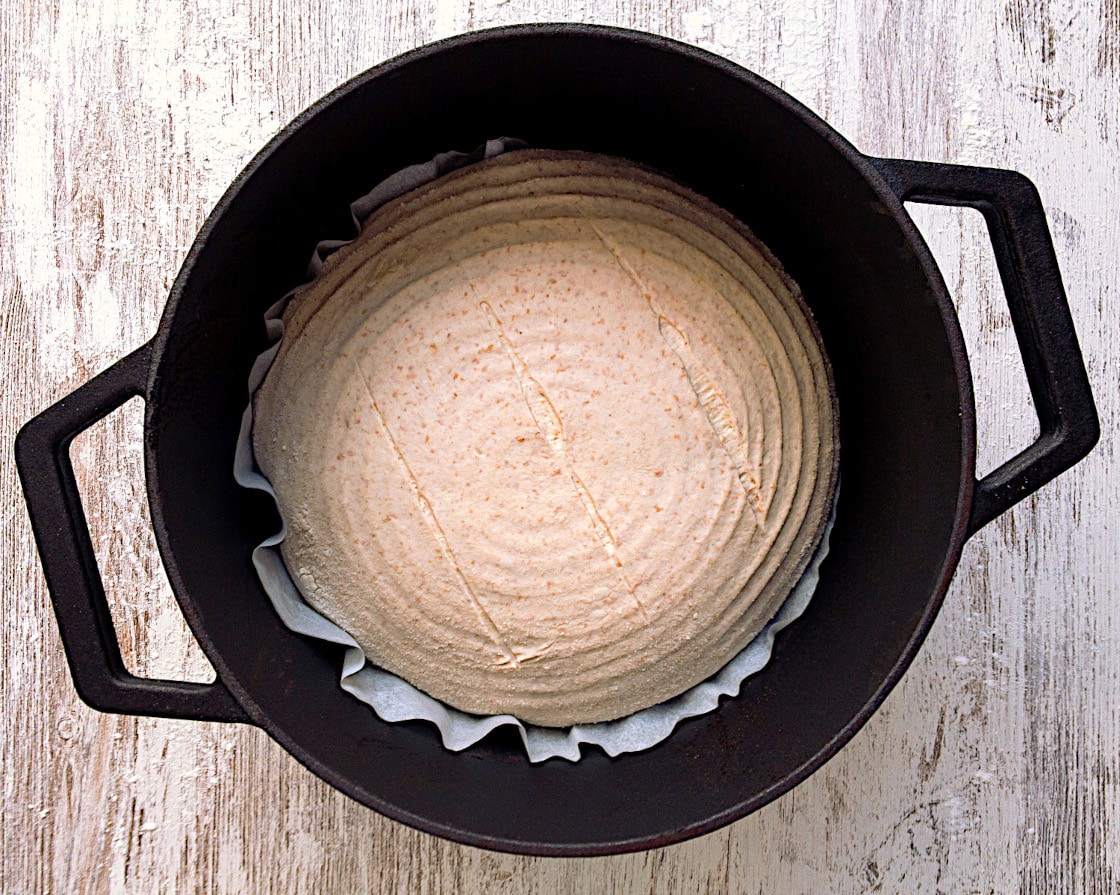
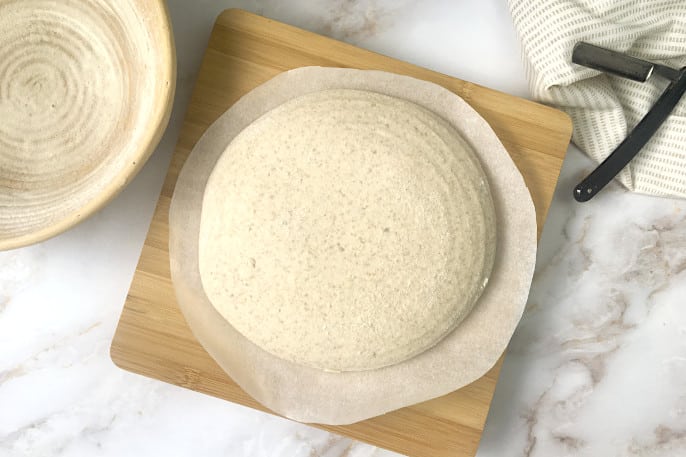
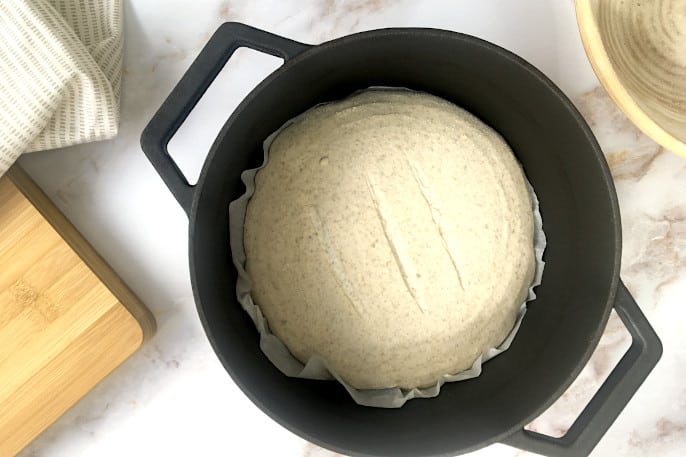
- The next morning Baking – Preheat your oven to 245ºC (475ºF) with the dutch oven inside and the lid off, on the side for at least 45 min.Cut a round piece of parchment paper to the size of your proofing basket. Take the proofing basket out of the plastic bag and place the parchment paper on top. Place a cutting board or anything else big enough to support your dough on top. Quickly flip the basket over, securing the cutting board, so the dough gets to sit on top of the board with parchment paper.With a sharp knife or a razor blade, score the top of the dough with three lines. You can choose another pattern to your liking important, is that you just cut superficial and not too deep into the dough.Carefully, place the bread on top of the parchment paper inside the dutch oven and bake for 30 minutes, covered with the lid. After 30 minutes, take the lid off, reduce your oven to 180ºC (356ºF), and bake for more 15-20 minutes. When done, carefully remove the bread from the dutch oven and let cool down on a wire rack or place the loaf on its side so the air can circulate. Let the loaf rest for at least 20 minutes before slicing.
The Steps in Images
02:00 p.m. Autolyse

02:30 p.m. Mix the final dough


03:00 p.m. Bulk Fermentation / Folds



06:30 p.m. Pre-Shape



06:50 p.m. Shape



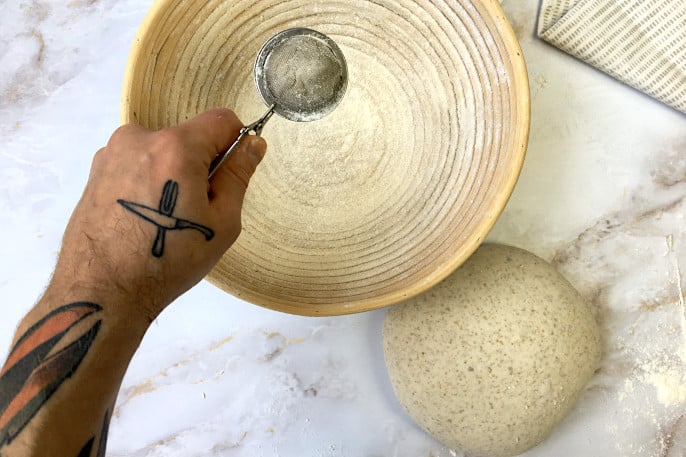
07:00 p.m. Proofing
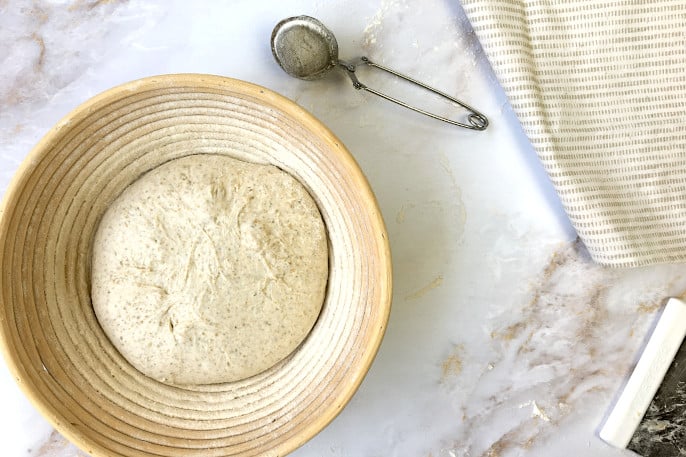


The next morning – Baking



Other amazing Websites to learn about Sourdough Bread Baking
Through the years, I gained some experience with baking and how to handle sourdough, but there are many people out there that for sure understand a lot more than me. I have big respect for these people, dedicating their time to this vast subject. These blogs and websites helped me to learn and understand better most of the things I know today. So if the Information on my site is not enough or you simply want to dive deeper into the world of bread, I hope you enjoy the following links.
www.theperfectloaf.com
A website dedicated to baking sourdough bread in your home kitchen. Its mission is to help others bake healthy, naturally leavened sourdough bread right from home using a wild yeast starter. Maurizio Leo @food52’s Resident Bread Baker. Helping others bake sourdough bread.
www.thefreshloaf.com
The Fresh Loaf, a community for amateur artisan bakers and bread enthusiasts! Its mission is to share the love of bread: recipes, lessons, reviews, and so on.
www.breadtopia.com
At Breadtopia you will find video tutorials; recipes; premium baking ingredients, Breadtopia-branded heirloom grains, flours, and sourdough starter; hand-picked, high-quality baking gear and supplies; and access to the friendliest, most dedicated baking community you could ever hope to meet.
www.foodgeek.dk/en
A Blog not only about baking but with a lot of information and great experiments about sourdough – check out the YouTube channel for amazing videos.


